Connect Zapier
Send every new participant from a Revup promotion to Zapier with the Revup app, choose the fields it receives, and use them in any Zap.
Before you start
- You need a Zapier account.
- Zapier connects to Revup with a Revup API key. Only the account owner can create API keys. If you are not the owner, ask them for a Zapier API key. One key works for all your promotions.
- Your form needs at least one field that collects an answer, such as Email.
- Purchase Sweepstakes promotions do not have an Integrations tab, so you cannot connect Zapier to them.
Connect Zapier to a Revup promotion
- Open the promotion builder, go to Integrations, and select + Add Integration.
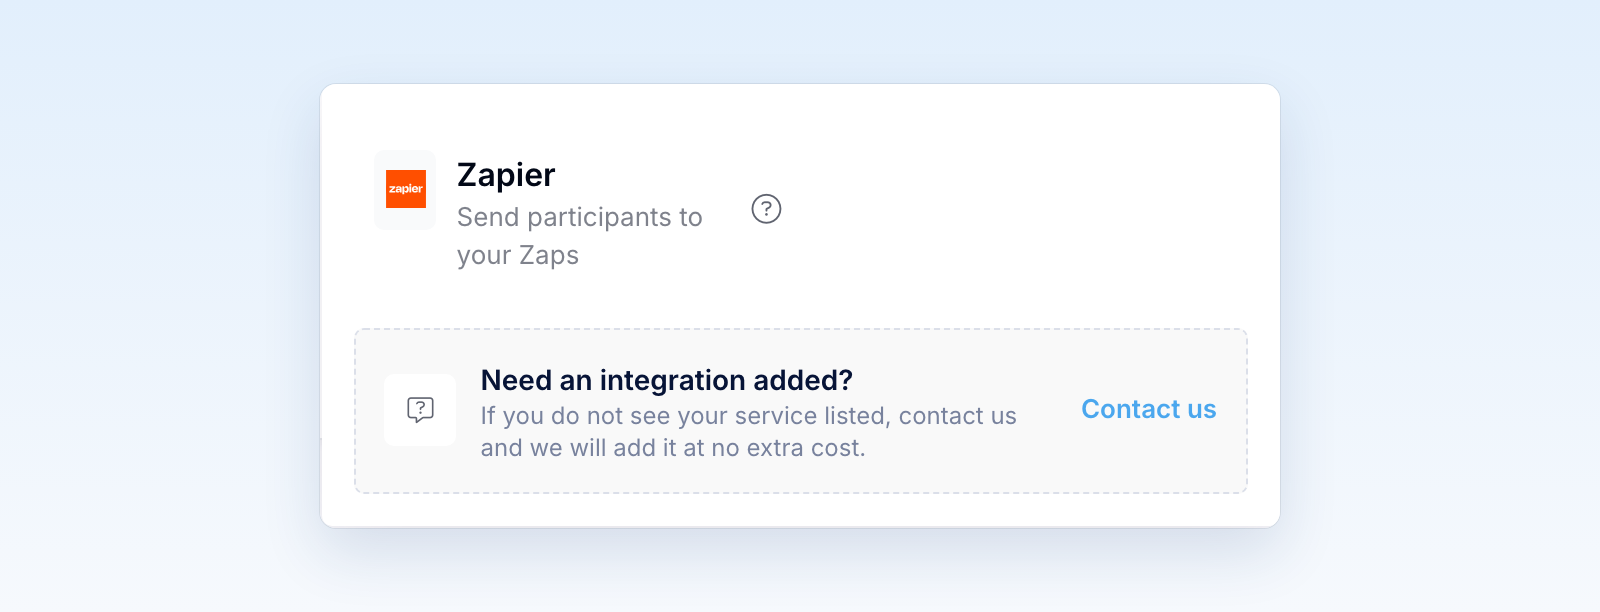
- Choose Zapier. During a trial, confirm the Trial syncing limit message to continue.
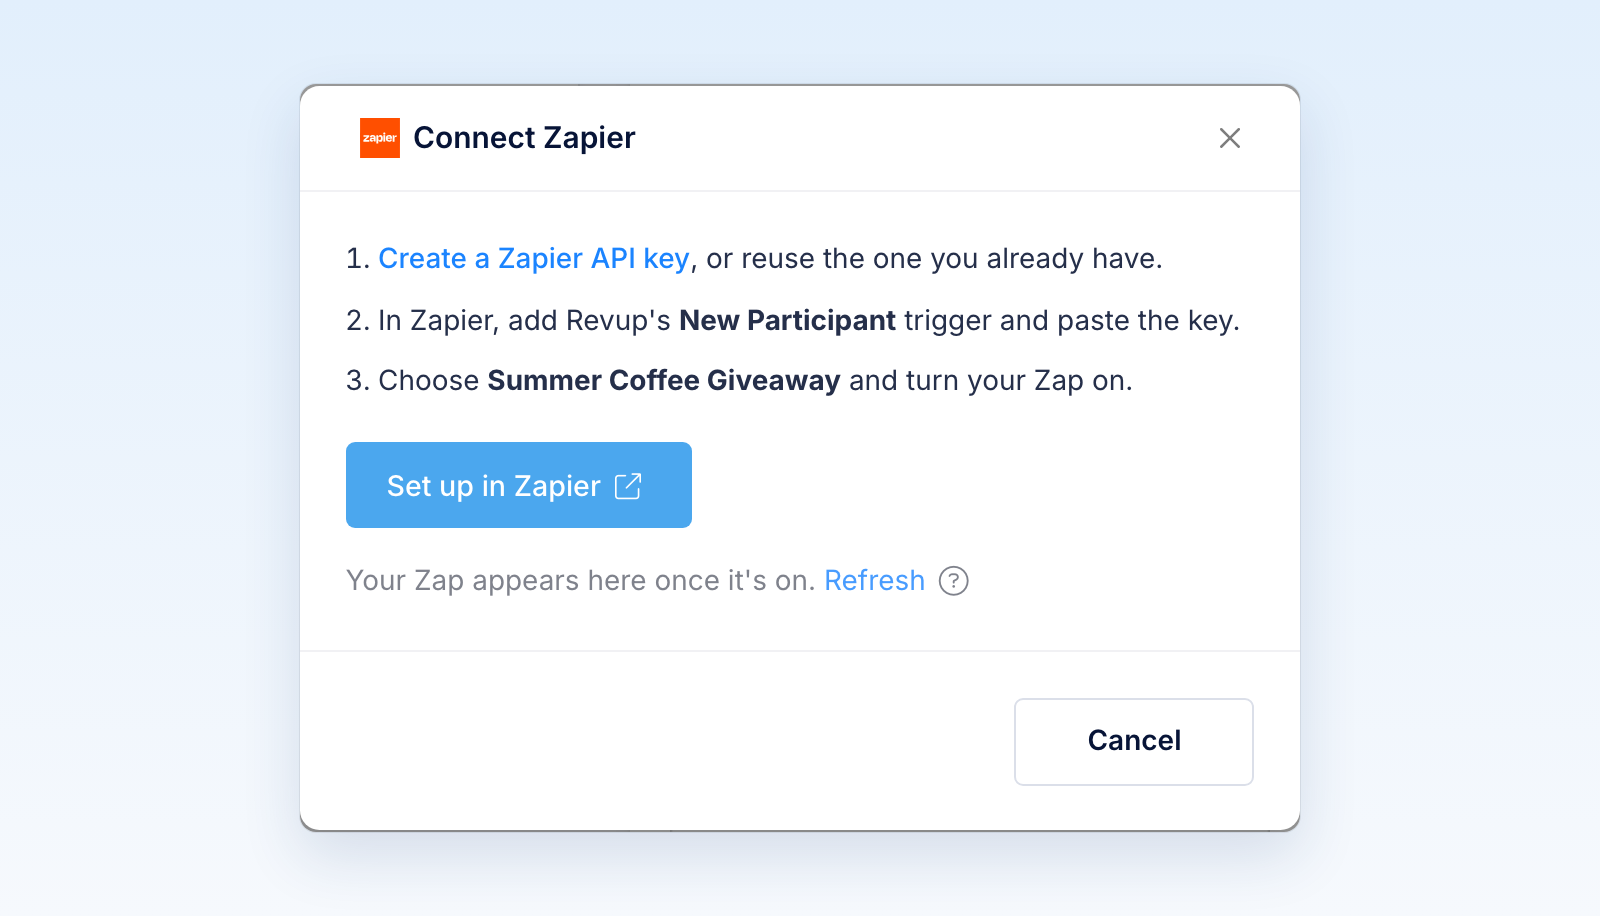
- In Connect Zapier, select Create a Zapier API key. If you already have a Zapier key, skip to step 5 and reuse it.
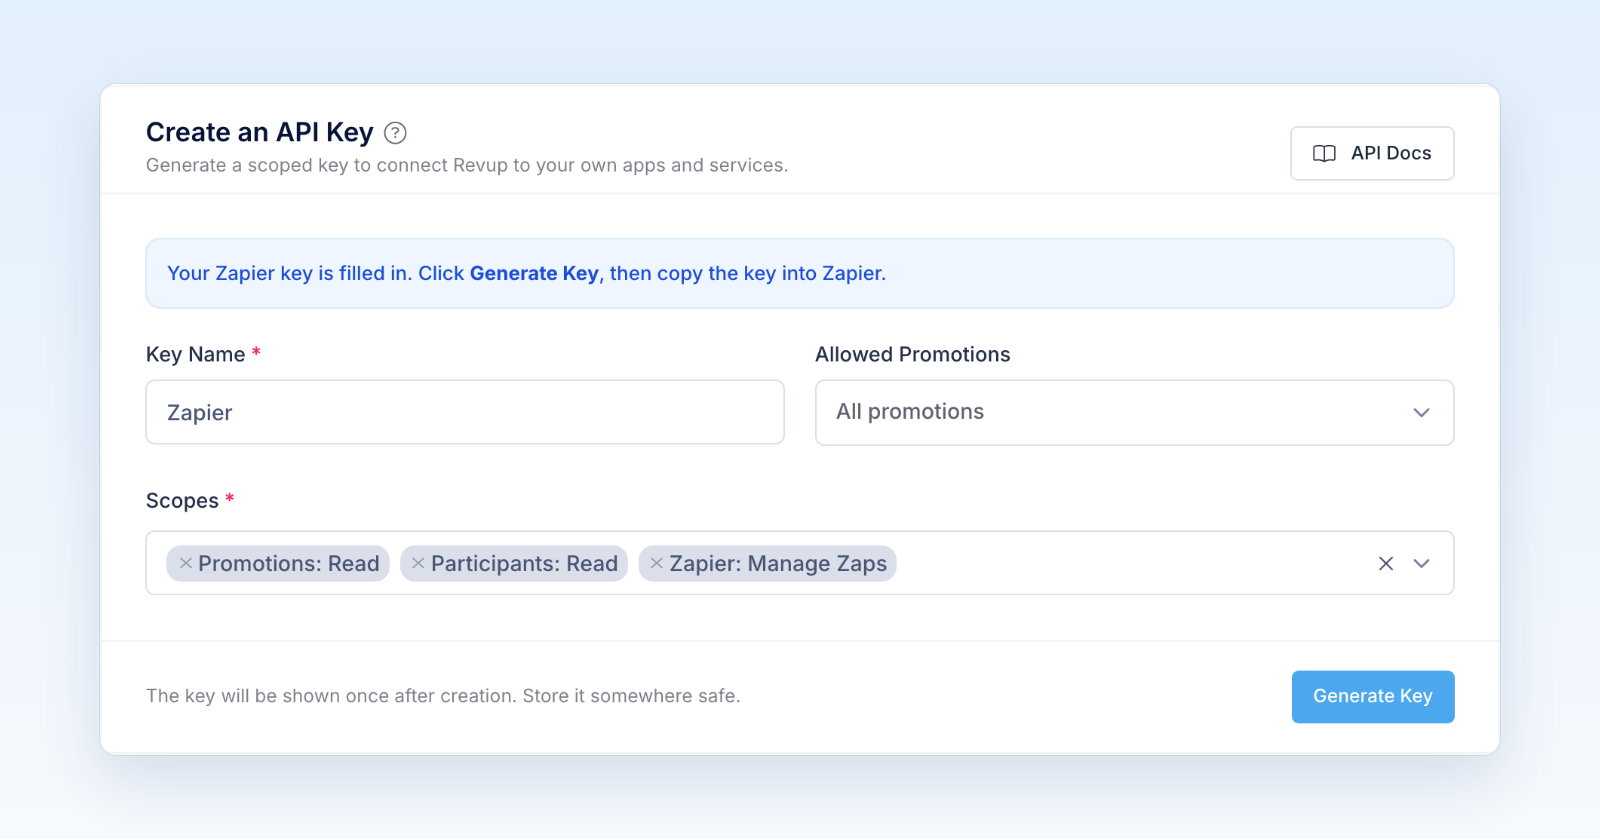
- Account → API opens with the key name and the three Zapier scopes already filled in. The key works for all your promotions. Select Generate Key, then copy the key. Revup shows it only once.
- Back in Connect Zapier, select Set up in Zapier.
- In Zapier, create a Zap. Choose Revup as the trigger app and New Participant as the trigger event.
- When Zapier asks you to connect Revup, paste your API key into API Key.
- In Promotion, choose your promotion, then select Test trigger. If the promotion has no entries yet, Zapier shows a sample participant named Jane (sample).
- Add your action steps and publish the Zap.
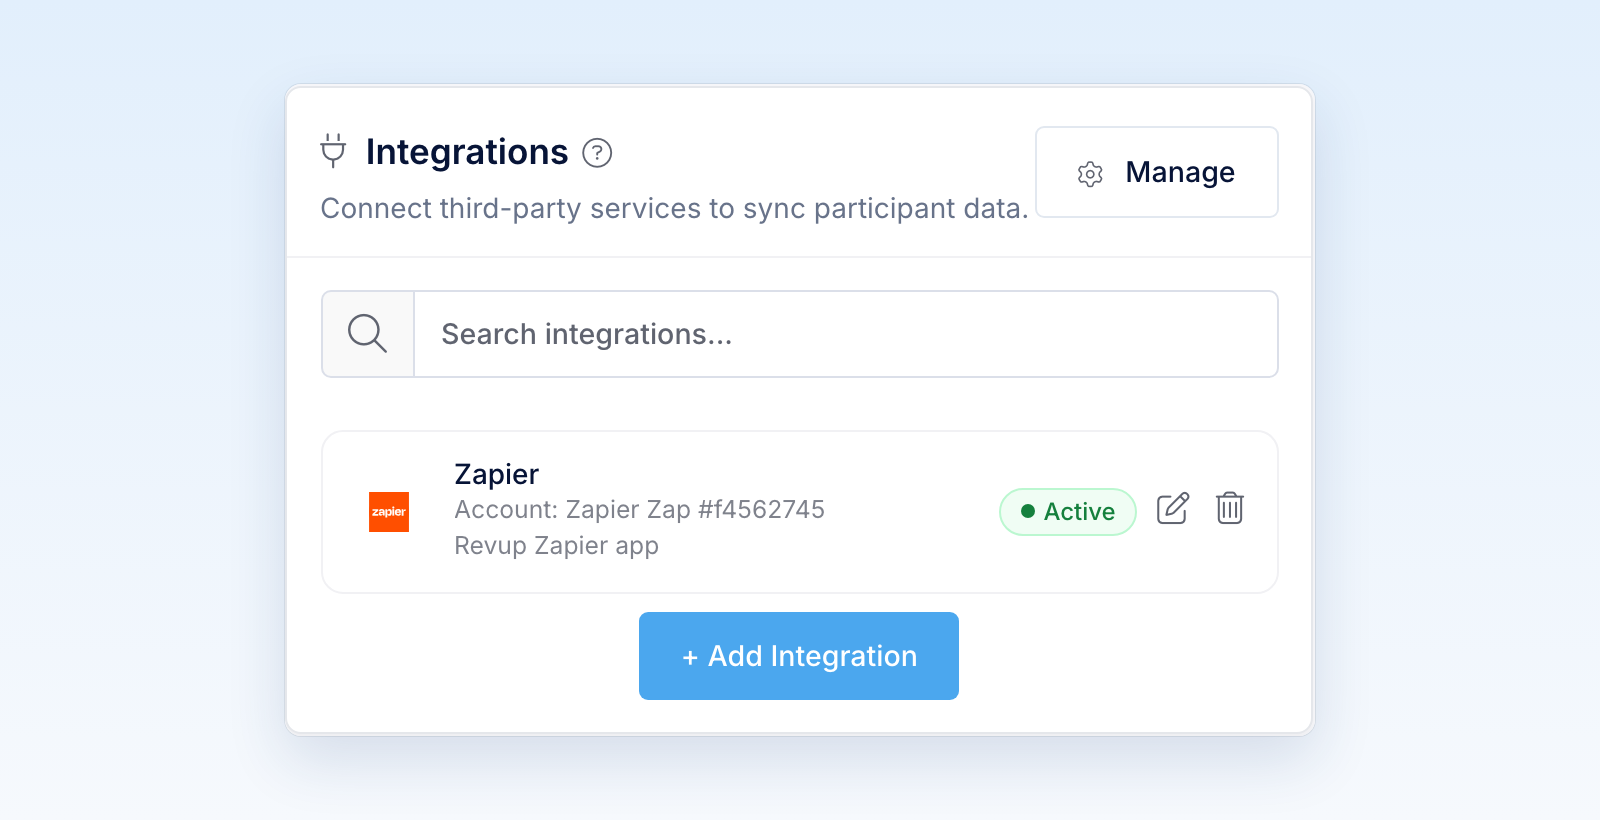
- In Revup, select Refresh in Connect Zapier, or reload the builder. A Zapier card appears for your Zap with an Active badge.
- After the promotion starts, enter once through its public link with your own email address. Then check your Zap's history in Zapier for the new participant.
Entries you submit from the builder preview are test entries. Revup never sends test entries to Zapier or any other integration, so use a real entry to check the connection.
Add another Zap
You can connect up to 10 active Zaps to one promotion, for example one that adds participants to a spreadsheet and another that alerts your team. Each Zap gets its own card in Integrations.
To send another promotion to Zapier, create a new Zap and choose that promotion in Promotion. Your existing Revup connection and key work for every promotion, so you don't need a new key.
Choose the fields Zapier receives
- On any Zapier card for the promotion, select the edit icon.
- In Configure Zapier, choose what to send for each form field. Fields with a lock icon are always sent. Choose Do not sync this field for anything you don't want to send.
- Select Save.
- In Zapier, open each Zap for this promotion and select Test trigger again, then check that your action steps still use the right fields.
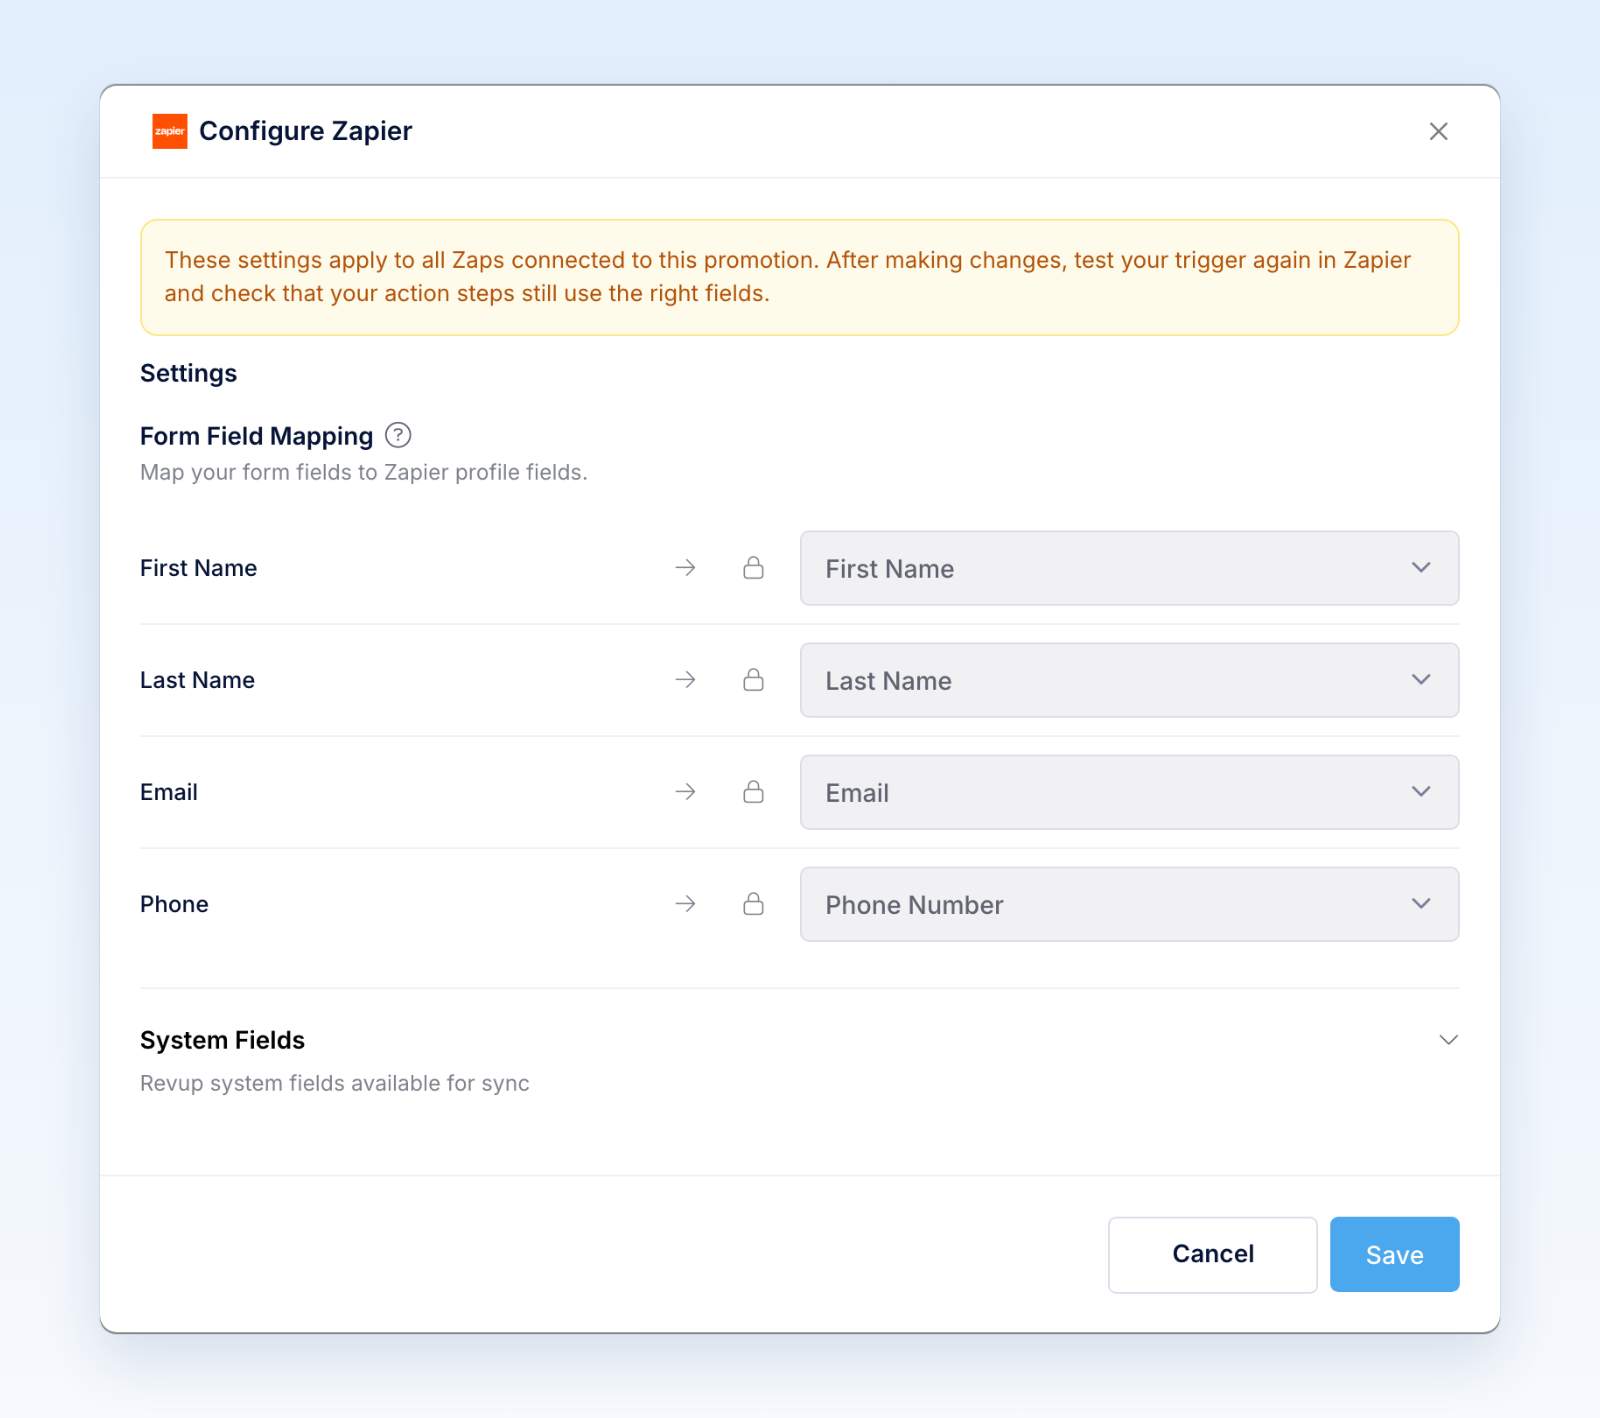
These settings apply to every Zap connected to the promotion. When you add a field to your form later, it is not sent to Zapier until you choose it here.
What Revup sends to Zapier
Revup sends each new participant to every active Zap on the promotion once, as soon as their entry is processed. Participants who entered before a Zap was turned on are not sent.
Every participant includes these details:
- Event ID, Event, Created At (in UTC), Promotion ID, Promotion Name, and Participant ID.
- Sample data (not a real participant), which is
trueonly for the sample Zapier shows when you test a promotion with no entries. - Your form answers: email, first name, last name, phone number, and every other field on your form, unless you turn it off in Configure Zapier. Revup stores phone numbers with the country code, for example
+12015550101. - Email Marketing Consent and SMS Marketing Consent as
trueorfalse, when your form has those fields.
Revup also sends these system fields. They are locked in the System Fields section of Configure Zapier and are always sent when they have a value.
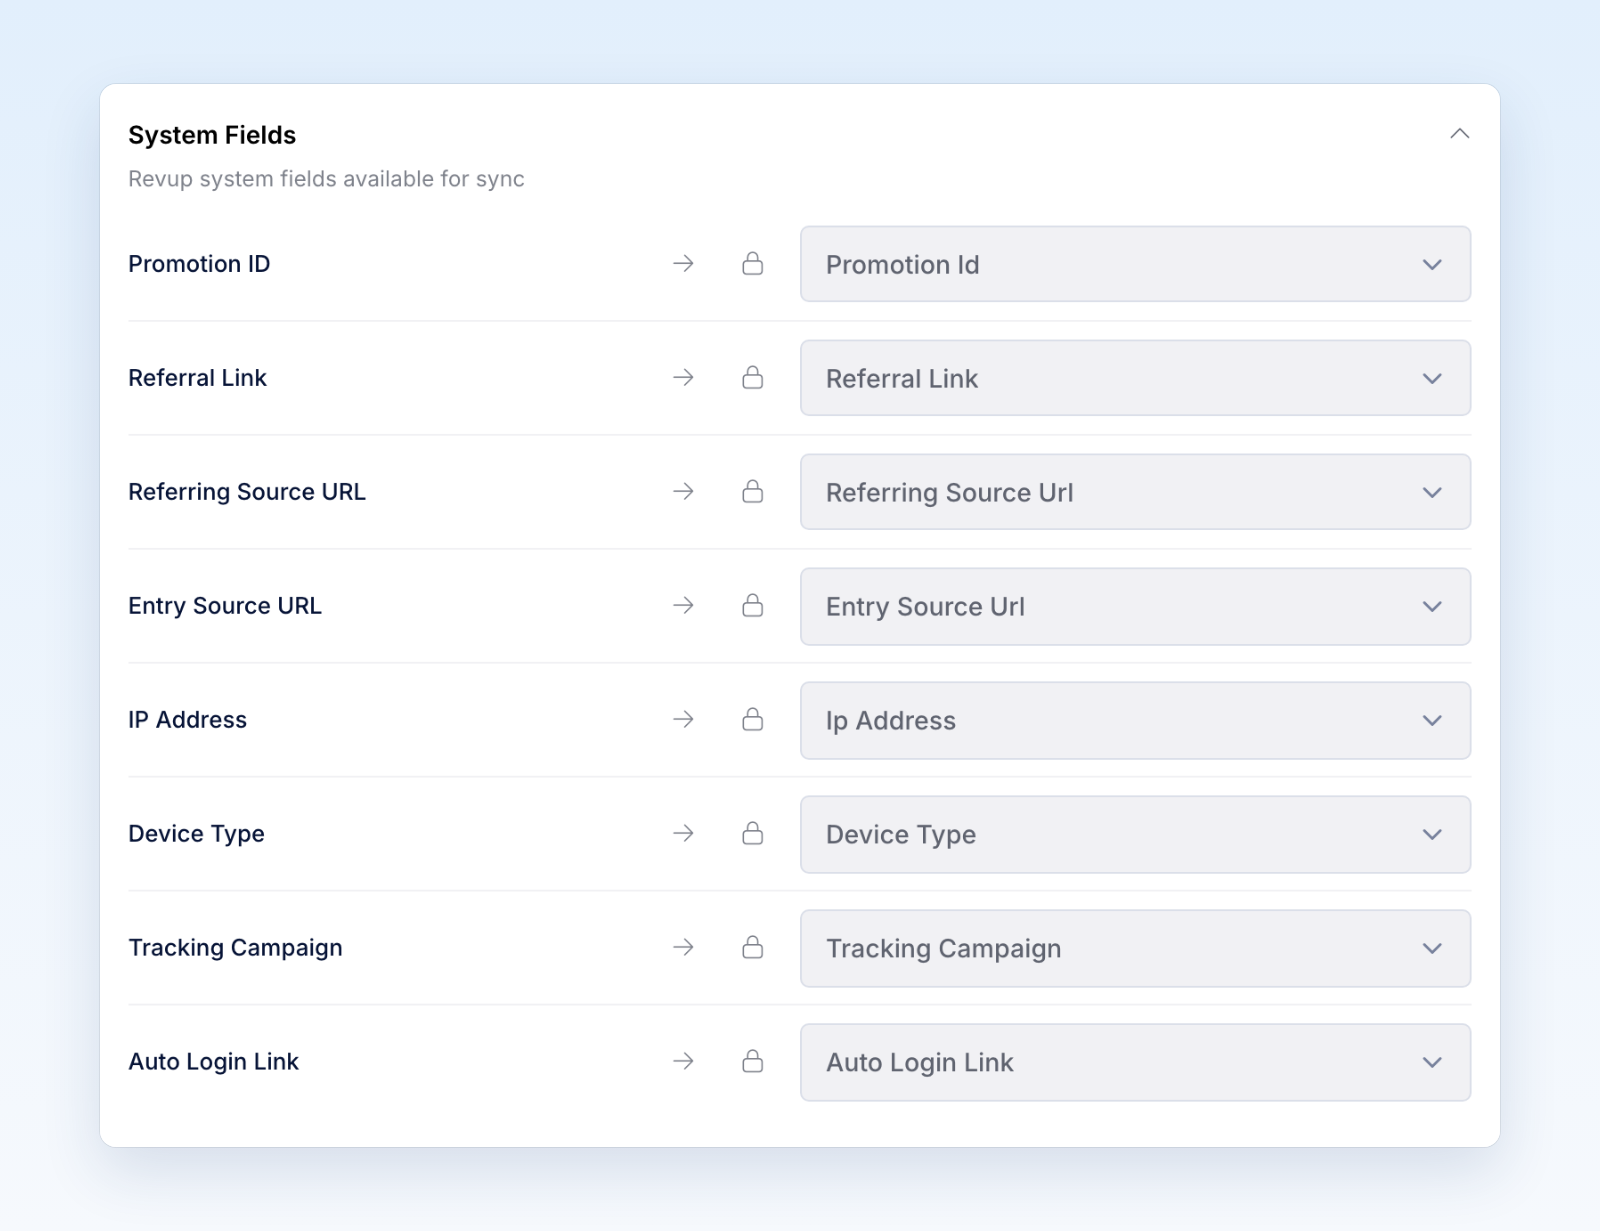
On quizzes, you can also choose to send Quiz Result and Quiz Score.
The Auto Login Link is private to each participant. Use it only in one-to-one messages, never in public posts or shared pages.
Email and SMS consent
Connecting Zapier does not create consent. If your form has an Email Consent field and the participant leaves it unchecked, Revup leaves their email address out. If your form has an SMS Consent field and the participant leaves it unchecked, Revup leaves their phone number out. If neither an email address nor a phone number can be sent, the participant is not sent to Zapier.
Use Email Marketing Consent and SMS Marketing Consent in your Zap to decide which participants each action should include.
Turn off a Zap
- In Zapier: Turn off or delete the Zap. Revup stops sending to it, and its card shows Off. Turn the Zap back on in Zapier to start sending again.
- From the promotion: In the promotion's Integrations panel, select the trash icon on the Zap's card, then Yes, turn off. The card shows Off.
- From your account: Go to Account → Integrations, open the actions menu on the Zap's row, and select Disconnect.
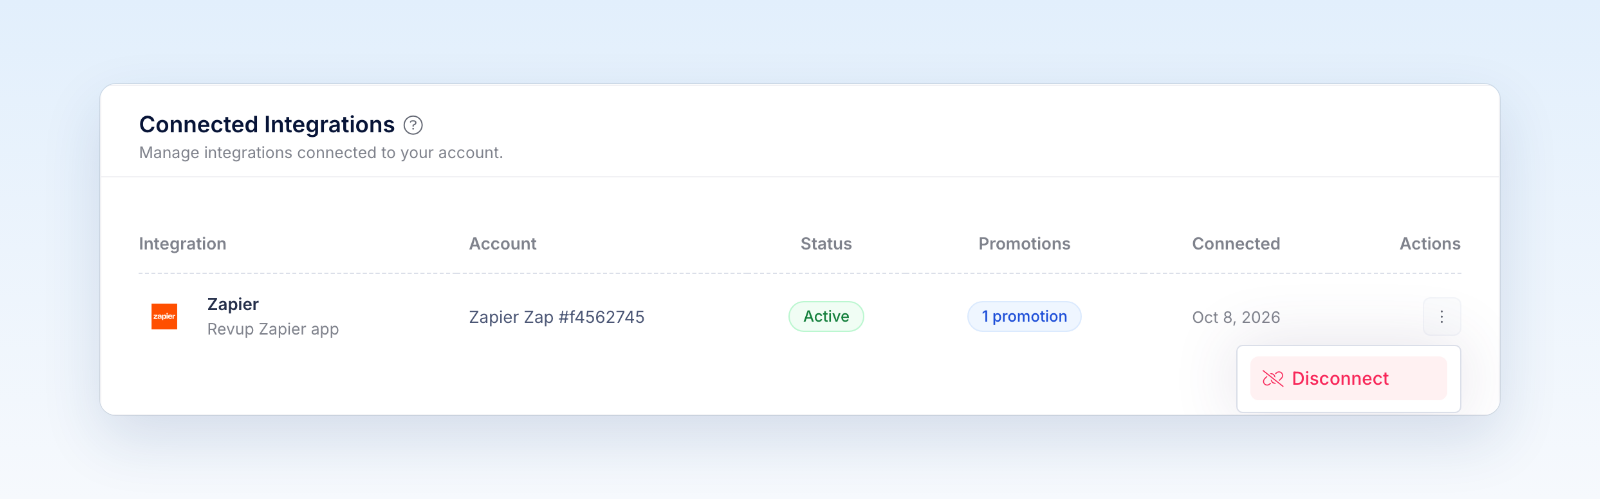
Turning a Zap off in Revup stops future sends and retries for that Zap only. It does not change the Zap in Zapier, so turn it off or delete it there too. Revoking the API key in Account → API stops sending to every Zap that uses it.
Troubleshooting
If Zapier can't connect or load your promotion:
- Revup did not accept this API key: Copy the whole key again. If you no longer have it, create a new key and reconnect.
- This Revup API key is missing a required permission: The key needs Promotions: Read, Participants: Read, and Zapier: Manage Zaps. Create the key from Connect Zapier to get the right scopes.
- This Revup API key cannot access the selected promotion: The key is limited to certain promotions. Select Create a Zapier API key in Connect Zapier to create a key for all promotions, then reconnect Revup in Zapier.
- Acknowledge the trial integration limit in Revup before connecting Zapier: Open the promotion's Integrations tab, choose Zapier, and confirm the Trial syncing limit message.
- This promotion already has 10 active Zaps: Turn off a Zap you no longer need, then try again.
If the Zap's card doesn't appear in Revup, make sure the Zap is published and watching this promotion, then select Refresh.
If a participant does not reach Zapier, check these in order:
- Test entry: Entries from the builder preview are test entries and are never sent.
- Entered before the Zap was on: Only participants who enter after the Zap is turned on are sent.
- Consent: Participants without an email address or phone number that can be sent are skipped.
- Off: If the card shows Off, the Zap was turned off in Zapier or Revup, or its API key was revoked. Turn it back on in Zapier.
- Trial limit: During a trial, integrations sync only the first 20 participants across your account.
- Delivery: Open the participant and go to Activity. If the Zapier delivery failed, select the retry icon next to it.
Was this helpful?
Still need help? Ask the team