Create and publish a form
Build a branded Revup form, configure its submission experience, and publish it as a page, embed, or popup.
Start an information-collection form
Use a Form when you need to collect information without prizes or winner selection.
- From the dashboard, select Create Promotion → Form.
- Choose Promotion language, then select Start from scratch to create a form with a default name, or Create with RevAssist to complete the guided setup. Review and edit the name in the builder.
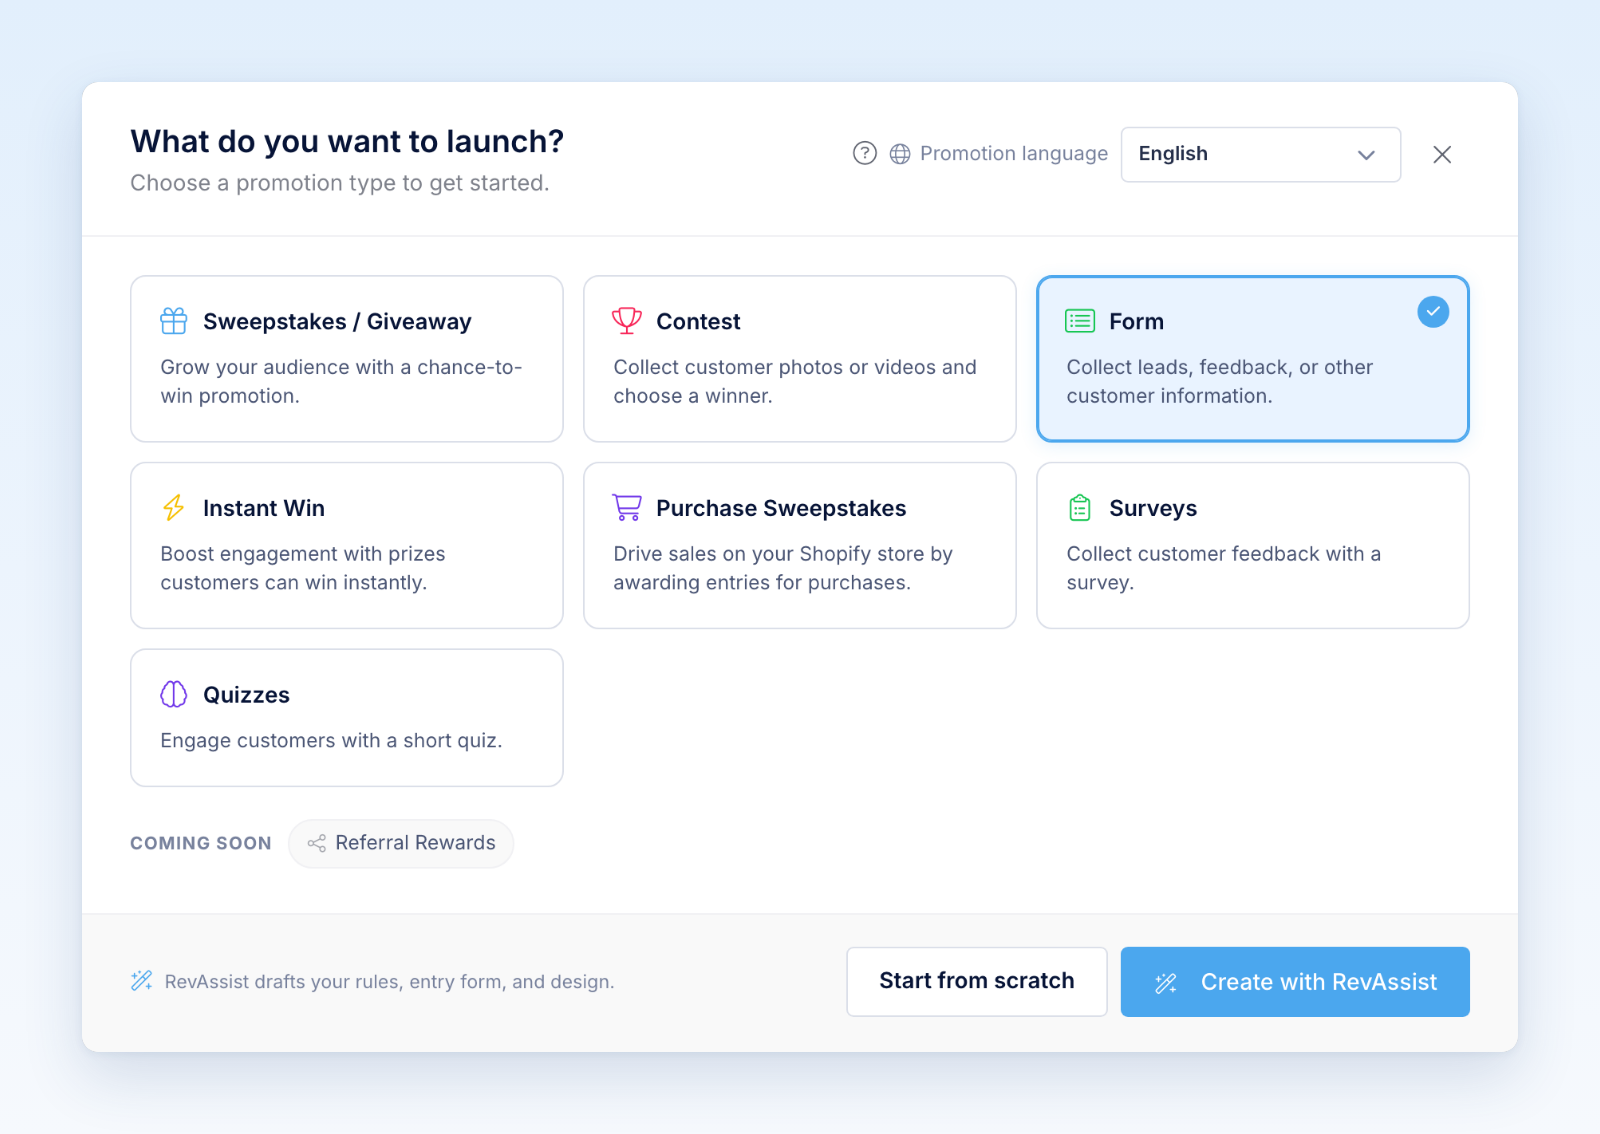
- In Form, write the title and instructions, then add the fields you need.
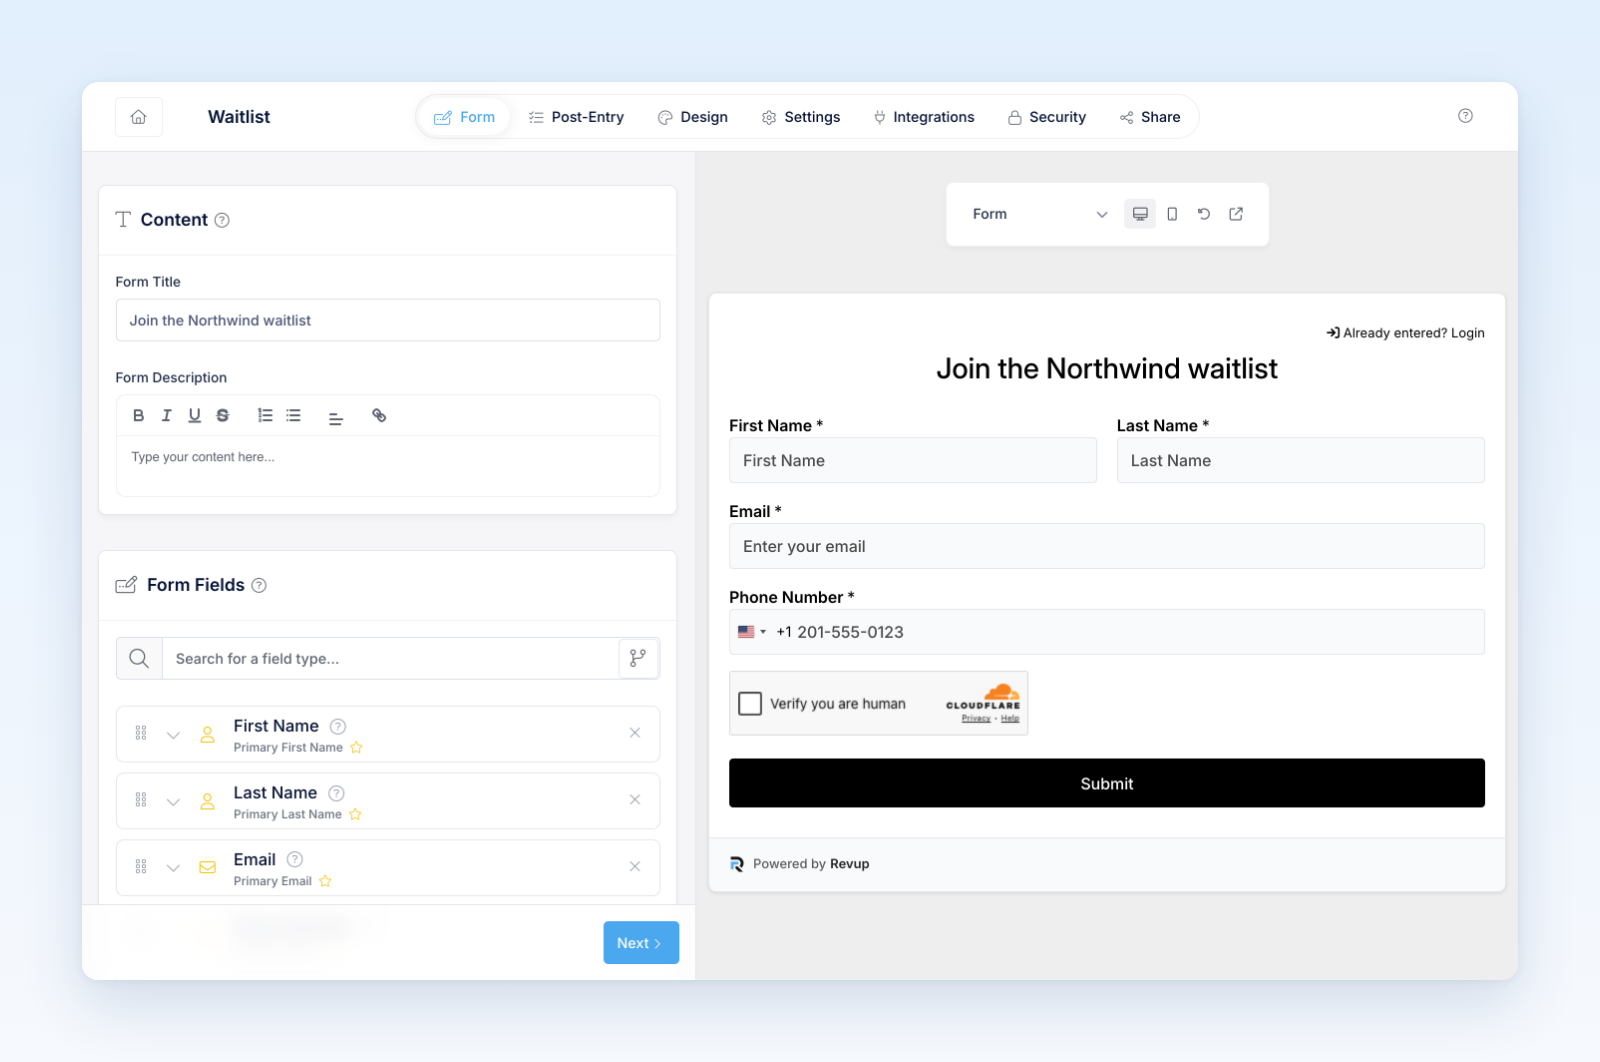
- In Post-Entry, edit the confirmation message and any follow-up Flow. Forms do not offer entry rewards or post-submission Social Actions.
- In Design, choose a theme and review the mobile layout.
- Add languages and integrations when needed.
- Configure security, validation, submission limits, and CAPTCHA.
- In Share, choose a hosted landing page, inline widget, or popup.
Test before publishing
Submit the form with valid and invalid data. Test every conditional path, page break, upload, signature, payment, consent field, integration, and Flow. Confirm the completed record appears under Participants and in the expected destination.
For embedded forms, test the real website page rather than relying only on builder preview. Check mobile height, scrolling, theme conflicts, cookie tools, redirects, and success content.
What happens after submission
Revup creates a participant record, updates an Audience profile, stores the submitted field values, and starts any eligible deliveries or automations. Authorized users can review and export submissions from the dashboard.
The confirmation is shown without an entry total or reward breakdown. Forms can accept payments, but payments do not award entries.
Was this helpful?
Still need help? Ask the team